Clavinet.Com Restoration Guide: Re-Yarning the Clavinet
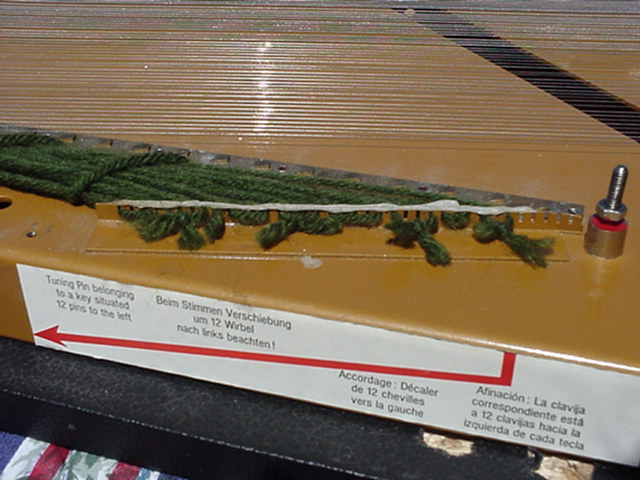
The yarn in the clavinet plays an extremely important role in the functioning of the instrument. We get many questions asking if there was a sustain pedal ever manufactured for the clavinet and the answer is NO. Why? Because of the Yarn. Without it, every single note on the clavinet would sustain forever when struck. If you plan on re-stringing your entire clavinet or if your yarn is damaged, this guide is for you.
Using the right kind of yarn is CRUCIAL, if you do not, you'll wind up with hours of hard work down the drain. The brand we use is made by CARON INTERNATIONAL under the name of "Aunt Lydia's Craft & Rug Yarn". Its 100% POLYESTER, 3 PLY. Its available at the "Rag Shop" chain of craft stores in the U.S.A. Color is unimportant.
From the factory, the clavinet was issued with 8 strands of yarn; each strand of yarn makes 2 passes across the strings. This gives a total of 16 lengths of yarn across the strings. If you use the above make of yarn, you will only need about 5 strands of yarn because it is slightly thicker than the original blend. The general rule is use as much yarn as you can before you run out of room, but do not overdo it.
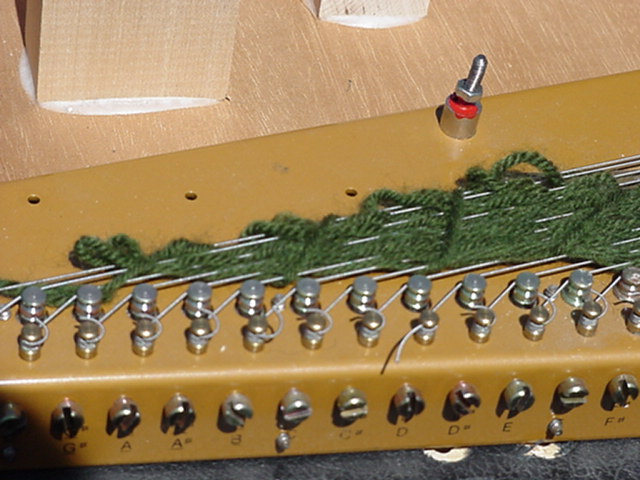
Begin Strand #3 Pass #1 as if it were Strand #1 Pass #1 and continue yarning the clavinet until there is no more room for any yarn.
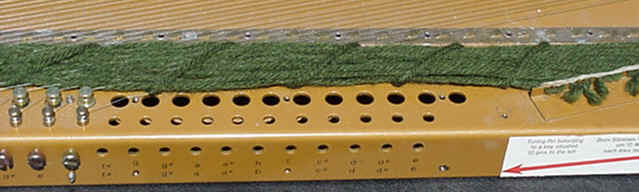
Lastly, take a single length of yarn, and tie the whole pattern together by doing an over/under pattern on the yarn at an angle several times. On the bass string end, loop the yarn around the last few bass strings. This is important because the bass strings need as much damping as they can get. On the yarn bridge end, insert the yarn into an empty slot in the yarn holder. Get a hot glue gun and some glue sticks and run a blob of glue over the yarn holder to seal the yarn in their slots. Any craft store should sell the gun and accessories for under $10. When you are finished, check the alignment of strings over the hammer anvils and make sure the yarn is not pulling them off the anvil heads. Also, make sure the yarn is not lying over any of the anvils.